NCR Alps TKL
I first heard about an NCR reproduction tenkeyless case sometime last year, and my eyes lit up. Finally! The chance for the custom keyboard of my dreams! I can just make my own vintage keyboard!
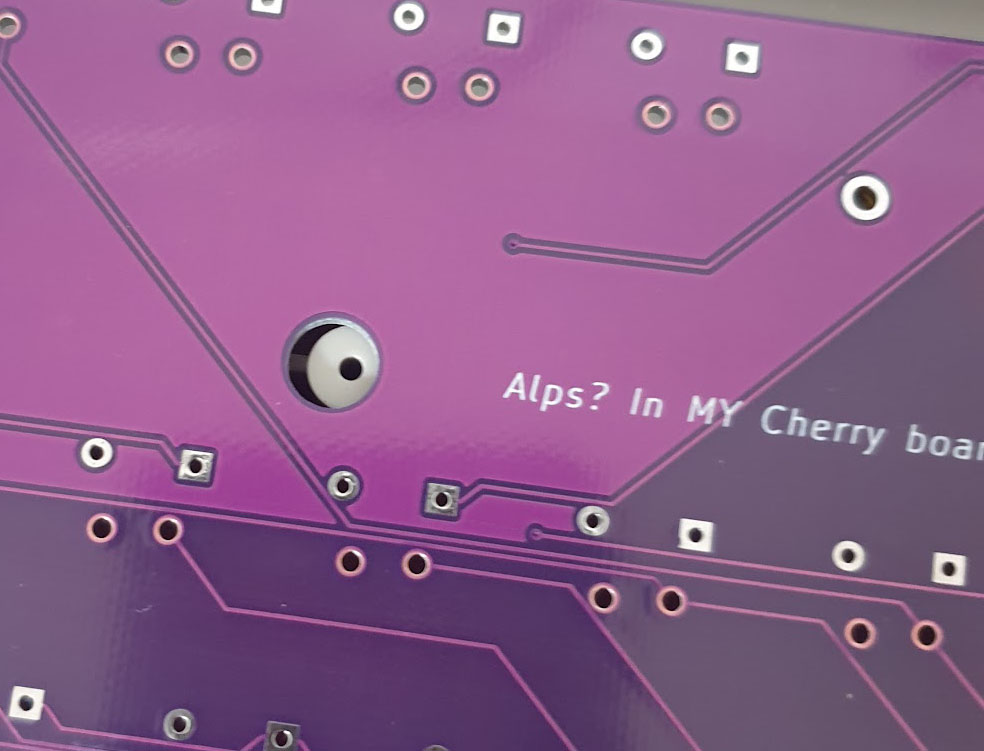
Alas, it wouldn't be that easy. Unfortunately, the case came with a PCB that was for modern Cherry MX switches only, meaning that to get what I wanted, a project would be in order. Not so hard, right? Just design a new PCB and mounting plate, and it's go-time. So I put my name down for a case only as part of a small order from China my friend was doing, and began the long wait to get it in hand.
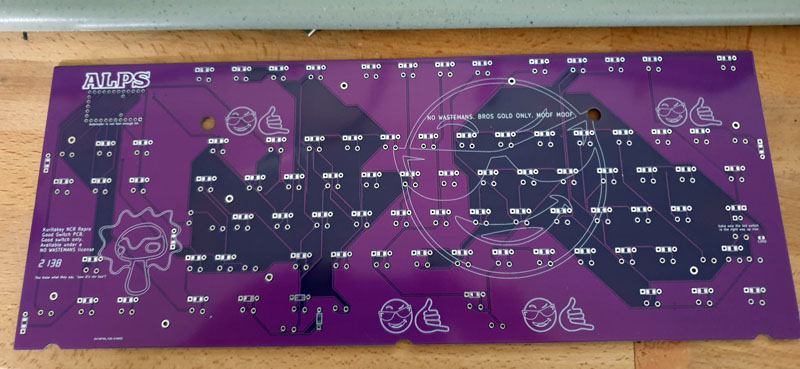
Fast forward several months, and the cases arrived with my friend. He'd got the real PCB, so I asked him to pop it in his scanner with a ruler so I could get to work. A few hours in KiCad and I had a vague idea of a PCB. I moved on to doing plate designs in Fusion 360, and figured I had something fairly decent.
 Once I got my case, I did the old faithful technique of printing out the PCB on paper and trying to screw the paper to the mounting holes on the case. This seemed to work okay, so I went ahead and ordered revision 1. (spoiler: it did not work)
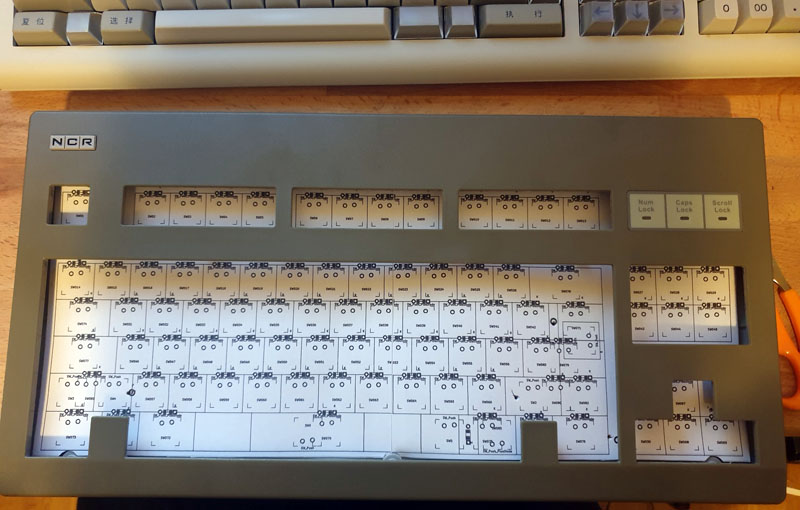
 A week or so later, I had revision 2 in hand, with the supposedly correct holes. (spoiler: they were also not correct) Agitated at this point, I decided this one was going to work whether it wanted to or not, put my respirator on, and went outside and filed the mounting holes until it fit. Luckily I'd not routed any copper near them. The screw holes were also not perfect, and you can basically put a maximum of three out of eight screws in to hold the assembly down, but it works well enough.
Meanwhile, the mounting plate was a first-time success, rekindling the notion of my own competence in my head. At this point I had a viable module, so it was go time - but there was one small problem. The "case only" option was exactly what it said - they didn't even include the small board with the USB-C connector on it.
Back to KiCad!
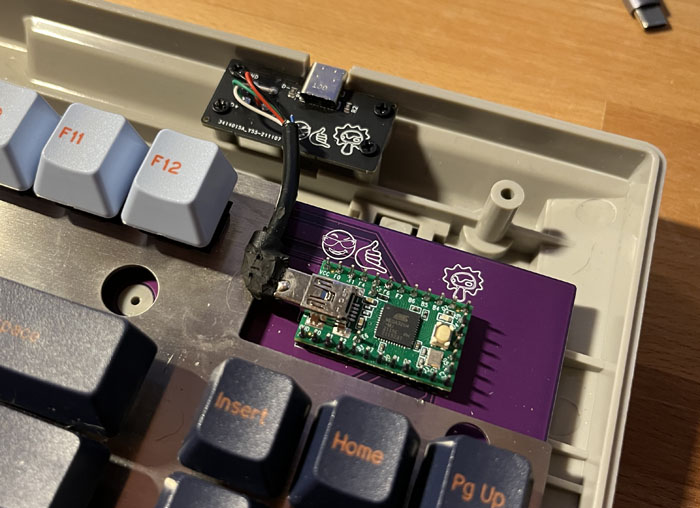
I designed a board (again), got the holes wrong (again), ordered a second revision (again), got the thickness on the second revision's order wrong, frantically cancelled it and the third time was the charm. I used a system similar to what I'd done to turn a phone cable into a USB cable for my M0110A PCB, and opted to chop up an angled mini-USB cable and plug it into the Teensy that drove the keyboard.
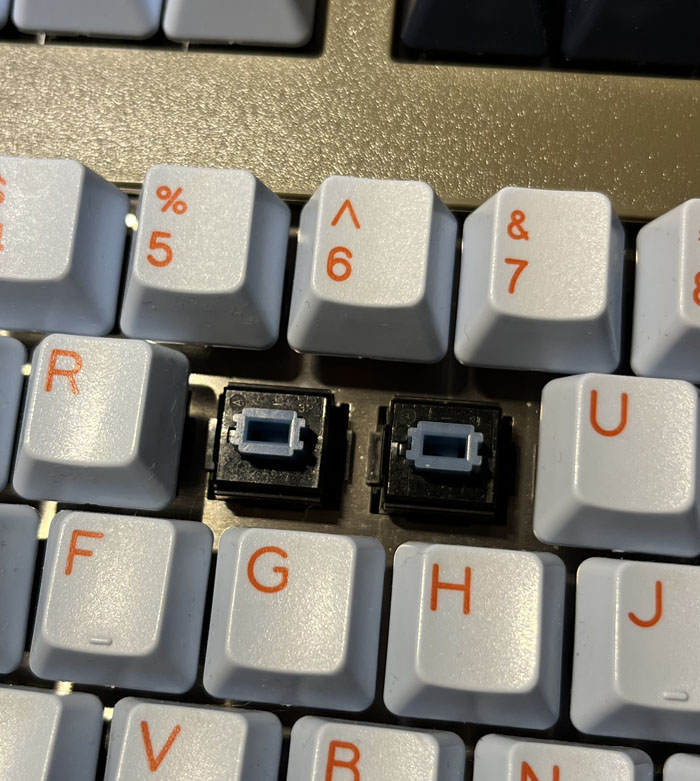
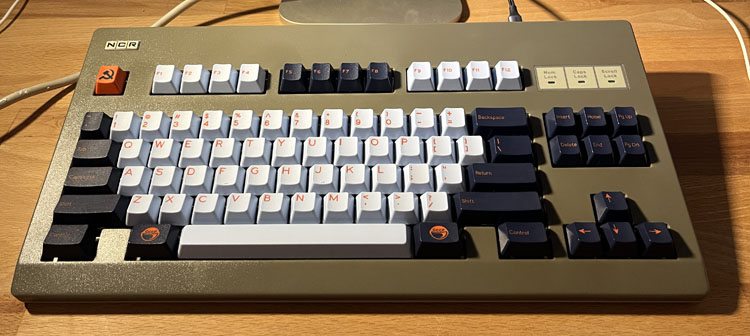
As this was the keyboard I'd always wanted my first real custom to be, I decided to destroy that custom. A few hours in the basement later, and I had my keycaps, stabilizers and a bag of extremely nice blue Alps switches to pop into this new board. Alps always sound better in a roomy, plastic case, and the old custom was a block of aluminium, so it made sense to me to do this.
The result is really good - this board sounds just like it's a real old keyboard, but has all the creature comforts of modernity, and some fun keycaps to boot. The firmware is done with Vial, so you can remap pretty much anything you want on the fly. People keep asking me for my files to do this, so I'll pip that to the post now - my files suck. Anyone with a pair of calipers and a few hours could probably do better than me. Handing them out would just hold you back!
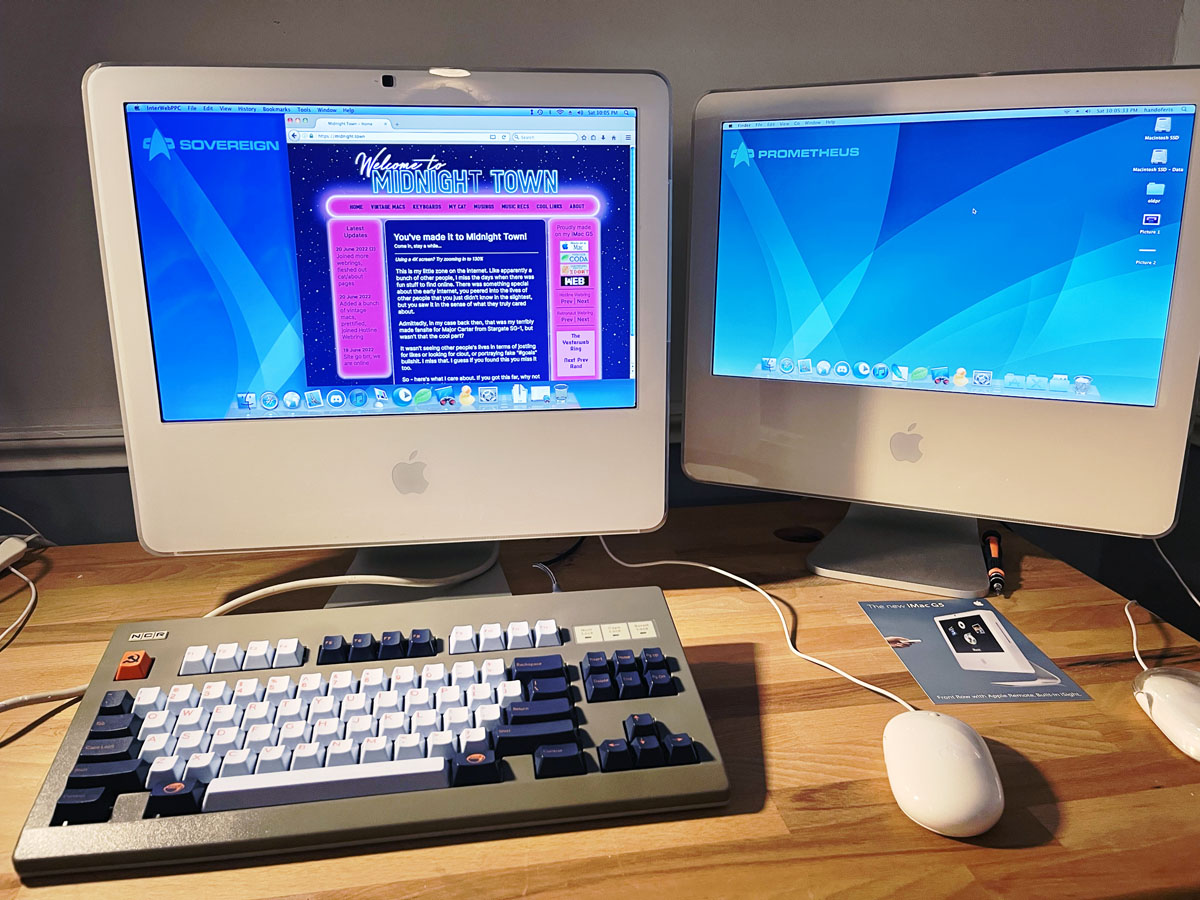
I'll leave you with a picture of this keyboard in use with my new iMac G5, sovereign.